The cleaning and upkeep of quality DJ stylus’ is one of the biggest concerns for vinyl users. Being well informed on how to properly clean and upkeep them is very important. In this article we provide three methods on how to clean and get the most out of your stylus.
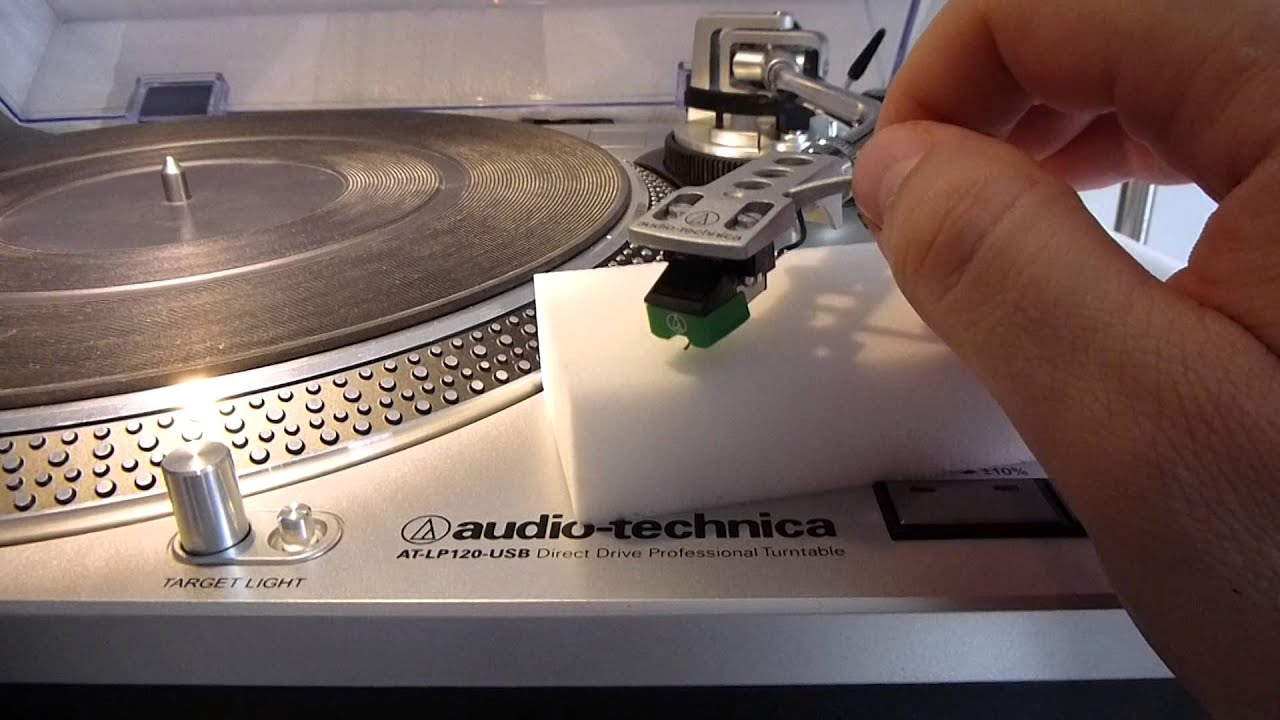
Mr. Clean Magic Eraser (Dry)
This method has become one of the most popular amongst DJs. The Mr. Clean Magic Eraser is a great way to pick up dust, dirt, and whatever else is stuck around your stylus. Be sure not to drag or wipe the eraser, but touch the stylus to the eraser, and that the eraser is brand new and never been wet or used before. After a few touches you should notice the instant clean up.
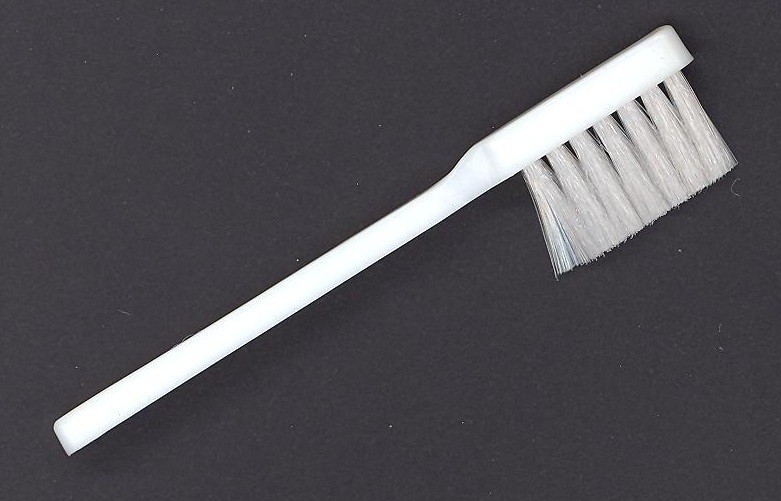
50/50 Ethyl Alcohol And Distilled Water
With this home remedy solution and a stylus brush, rub the brush against the stylus from the back of the stylus to the front of stylus. Do this a few times, and avoid side-to-side movements. This action serves best in a prep setting. You will want some time for the needle to dry before putting back on a turntable and testing it out. This is a quality method that’s proven to work.
Brush Stylus Back & Forth After Each Use
Likely the simplest and quickest way to clean up your needles after each use. This is a preemptive method used so that dirt doesn’t get a chance to sit and collect under the cartridge. Using a brush, after each use, gently brush the stylus in a back to front motion. Never ever go from side-to-side you risk bending or breaking the stylus. Doing this will wipe off any new or loose dirt or dust that was picked up from your earlier session.
Ideally, needles should be cleaned after every use. This will help ensure that the dust and dirt won’t accumulate, and damage the next record you play. Be sure to clean your needle frequently, and feel free to let us know what methods you use in the comment section below.